| 일 | 월 | 화 | 수 | 목 | 금 | 토 |
|---|---|---|---|---|---|---|
| 1 | 2 | 3 | ||||
| 4 | 5 | 6 | 7 | 8 | 9 | 10 |
| 11 | 12 | 13 | 14 | 15 | 16 | 17 |
| 18 | 19 | 20 | 21 | 22 | 23 | 24 |
| 25 | 26 | 27 | 28 | 29 | 30 | 31 |
- binding
- 앱
- 앱바
- CustomScrollView
- livedata
- Compose
- Flutter
- Button
- Navigation
- 계측
- drift
- android
- 테스트
- Coroutines
- intent
- appbar
- textview
- Dialog
- ScrollView
- textfield
- tabbar
- Kotlin
- viewmodel
- TEST
- LifeCycle
- 안드로이드
- scroll
- data
- activity
- DART
- Today
- Total
Study Record
[Flutter] PageView Widget 본문
✍ PageView Widget?
페이지별로 설정한 리스트 내용대로 스크롤 가능한 위젯이다. PageController 를 통해 PageVeiw 를 컨트롤할 수 있다.

※ 인자
PageView 의 인자는 다음과 같다.
PageView({
    super.key,
    this.scrollDirection = Axis.horizontal,
    this.reverse = false,
    PageController? controller,
    this.physics,
    this.pageSnapping = true,
    this.onPageChanged,
    List<Widget> children = const <Widget>[],
    this.dragStartBehavior = DragStartBehavior.start,
    this.allowImplicitScrolling = false,
    this.restorationId,
    this.clipBehavior = Clip.hardEdge,
    this.scrollBehavior,
    this.padEnds = true,
  })
1. List<Widget> children = const <Widget>[]
위젯 리스트를 설정하는 인자로 페이지별로 스크롤할 위젯들을 결정한다.
2. Axis scrollDirection = Axis.horizontal
스크롤할 방향(위아래 / 왼오)을 정한다.
- Axis.horizontal : 오른쪽에서 왼쪽으로 스크롤한다. (→)
- Axis.vertical : 아래에서 위로 스크롤한다. (↓)
3. bool reverse = false
스크롤 방향의 방향을 정한다.
- scrillDirection = Axis.horizontal && reverse = false : 오른쪽에서 왼쪽으로 스크롤한다. (→)
- scrillDirection = Axis.horizontal && reverse = true : 왼쪽에서 오른쪽으로 스크롤한다. (←)
- scrillDirection = Axis.vertical && reverse = false : 아래에서 위로 스크롤한다. (↓)
- scrillDirection = Axis.vertical && reverse = true : 위에서 아래로 스크롤한다. (↑)
4. ScrollPyhsics physics
사용자가 스크롤을 할 때 어떤 반응을 일으킬지 정한다.
- BouncingScrollPhysics(parent: AlwaysScrollableScrollPhysics()) : IOS 에서 전형적으로 볼 수 있는 스크롤 오프셋이 콘텐츠의 경계를 넘어갈 수 있도록 허용하지만 콘텐츠를 해당 경계의 가장자리로 되돌린다. 스크롤 뷰의 길이에 상관없이 오버스크롤 효과를 생성한다.
- BouncingScrollPhysics() : BouncingScrollPhysics(parent: AlwaysScrollableScrollPhysics()) 와 동일하지만 스크롤 뷰의 내용이 뷰포트 크기를 초과하지 않는 경우 오버스크롤 효과를 생성하지 않는다.
- ClampingScrollPhysics(parent: AlwaysScrollableScrollPhysics()) : AOS 에서 전형적으로 볼 수 있는 스크롤 오프셋이 콘텐츠 범위를 벗어나는 것을 방지한다.
- NeverScrollableScrollPhysics() : 사용자가 직접 스크롤할 수 없도록 방지한다. 스크롤 효과를 내려면 코드로 직접 스크롤하도록 지정해야한다.
5. bool pageSnapping = true
- true : 한 번 스크롤할 때마다 한 페이지씩 이동하며 사용자가 입력한 스크롤 방향과 크기에 의해 다음 페이지의 영역이 더 많이 노출되면 다음 페이지의 시작부분으로 자동 스크롤되고 현재 페이지에서 사용자가 가한 방향과 크기를 고려했을 때 다음 페이지의 영역이 적게 노출된다면 현재 페이지의 시작부분으로 자동 스크롤된다.
- false : 사용자가 입력한 스크롤 방향과 크기만큼 정직하게 페이지가 이동한다.
6. onPageChanged
스크롤에 의해 페이지(위젯)이 변하면 호출되는이벤트이다.
PageView(
    controller: pageController,
    scrollDirection: Axis.horizontal,
    reverse: false,
    onPageChanged: (page){
      print("현재 페이지 번호 : $page");
    },
    pageSnapping: false,
    children: [1, 2, 3, 4, 5].map((e) =>
        Center(child: Text("$e번째 항목"),)).toList(),
)
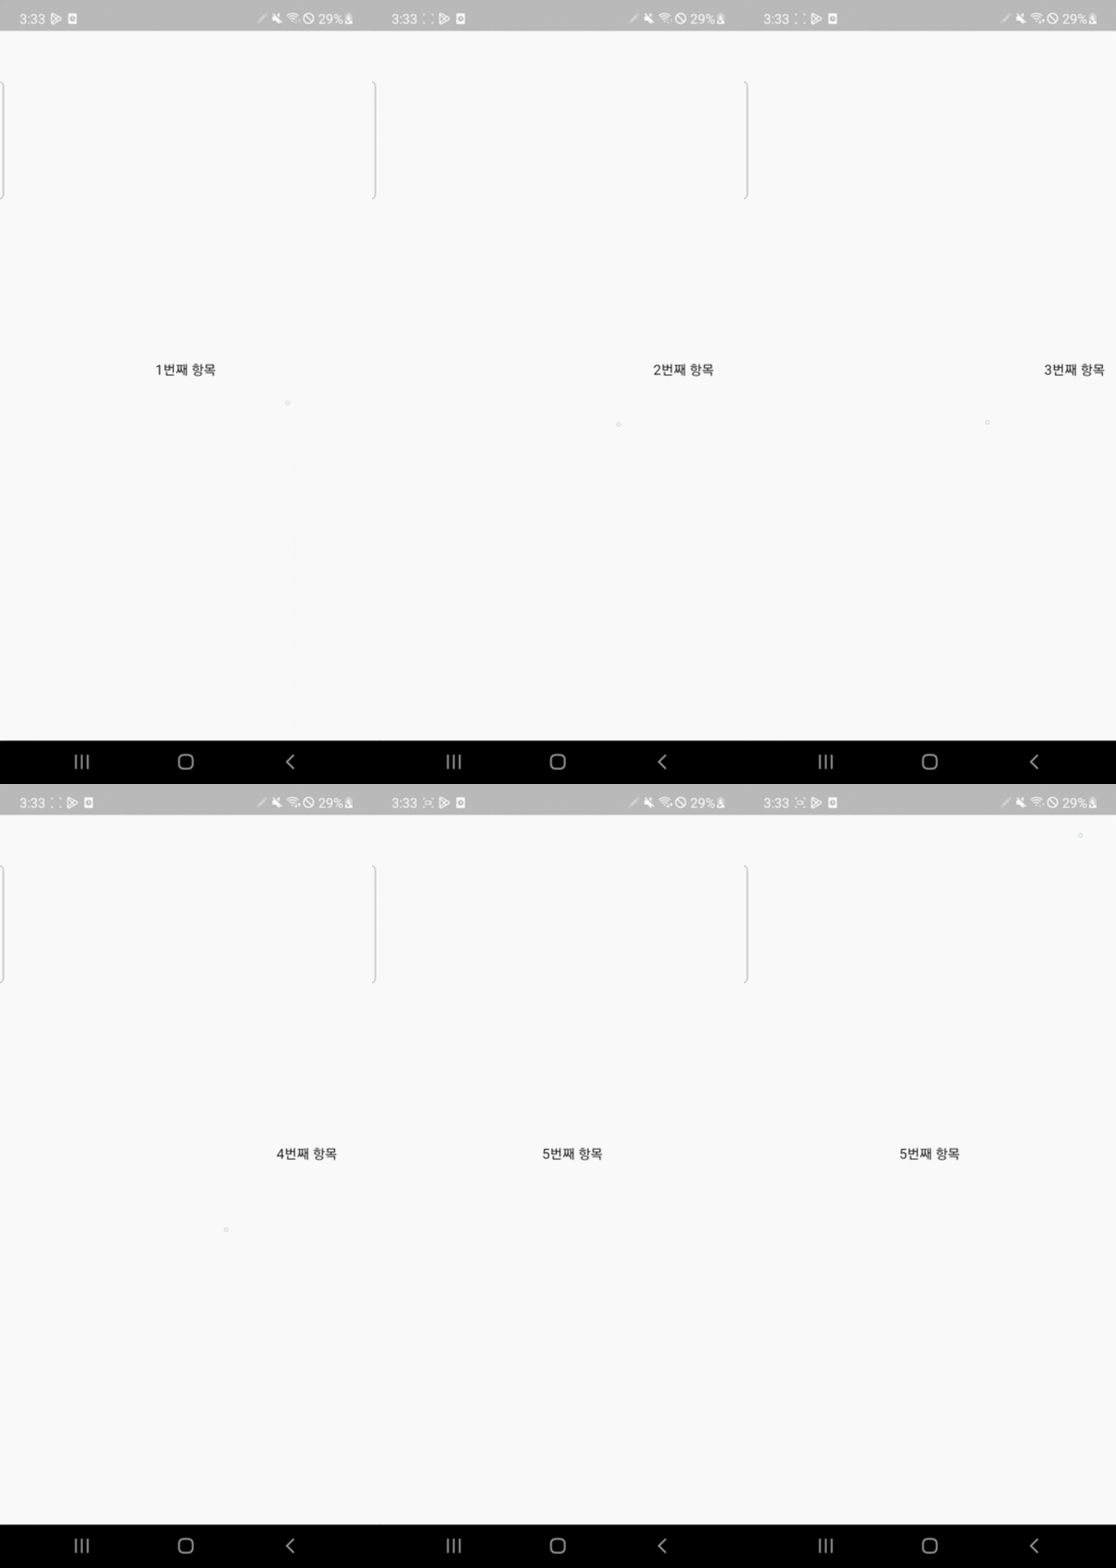
pageSnapping = false 라면 스크롤 시 차지하는 페이지 영역이 큰 페이지 번호를 리턴한다. 한번에 0페이지에서 4페이지에서 이동하는 스크롤 동안 페이지마다 onPageChanged 가 호출된다.
7. DragStartBehavior dragStartBehavior = DragStartBehavior.start
드래그 시작 동작을 처리하는 방법을 결정하며 DragStartdBehavior.start 는 드래그 애니메이션이 좀 더 자연스럽게 느껴지고 DragStartdBehavior.down 는 드래그 동작이 약간 반응적으로 느껴진다.
8. bool allowImplicitScrolling = false
- true : 접근성 포커스가 현재 페이지의 끝에 도달하고 사용자가 이를 다음 요소로 이동하려고 하면 포커스가 페이지 보기 외부의 다음 위젯으로 이동한다.
- false : 접근성 포커스가 현재 페이지의 끝에 도달하고 사용자가 이를 다음 요소로 이동하려고 하면 페이지 보기에서 포커스가 다음 페이지로 이동한다.
9. String? restorationId
restorationId 를 설정하면 스크롤 오프셋이 저장되 State 복구 시 스크롤 오프셋을 복구할 수 있다.
✍ PageController
PageView 에 controller 를 지정할 때 사용하는 클래스로 페이지 조작과 내부 콘텐츠의 오프셋 등 PageView 를 컨트롤할 수 있다.
※ 인자
PageController({
    this.initialPage = 0,
    this.keepPage = true,
    this.viewportFraction = 1.0,
  })
1. int initialPage = 0
PageView의 시작 페이지를 결정할 페이지 번호를 설정한다. initialPage = 3 이면 세번째 페이이부터 시작한다.
2. bool keepPage = true
true일 경우 페이지 번호를 기억하여 복구 시 기억된 페이지 번호부터 시작할 수 있도록 한다.
3. double viewPortFraction = 1.0
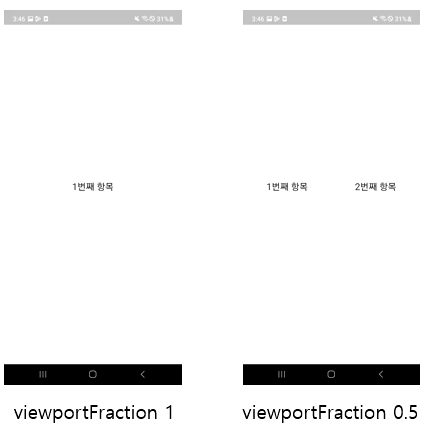
각 페이지에서 뷰가 차지하는 부분을 결정한다. 1.0이 한 페이지를 전부 차지한다.

※ 사용가능한 함수
1. animateToPage(int page, {required Duration duration, required Curve curve})
연결된 PageView 의 page 번호로 설정한 애니메이션 효과(curve) 와 지속시간(duration) 으로 이동한다.
2. animateTo(double offset, {required Duration duration, required Curve curve})
animatieToPage()와 같은 기능을 하지만 page 번호로 이동하는 것 대신 offset 만큼 이동한다.
PageController controller = PageController();

int currentPage = controller.page?.toInt();            // 현재 page 번호
double width = MediaQuery.of(context).size.width;      // 앱 화면 width 값

controller.animateToPage(
    currentPage + 1,
    duration: Duration(seconds: 1),
    curve: Curves.easeInQuart
);

controller.animateTo(
    controller.offset + width,
    duration: Duration(microseconds: 20),
    curve: Curves.linear
);
3. dispose()
PageController 를 메모리에서 완전히 지운다. 모든 리소스를 지운다.
✍ PageView 사용 예시
1초에 한번씩 자동으로 스크롤되는 PageView()
class HomeScreen extends StatefulWidget {
  const HomeScreen({Key? key}) : super(key: key);

  @override
  State<HomeScreen> createState() => _HomeScreenState();
}

class _HomeScreenState extends State<HomeScreen> {
  Timer? timer;
  PageController pageController =
      PageController(initialPage: 0);

  @override
  void initState() {
    timer = Timer.periodic(Duration(milliseconds:1000), (timer) {
      int? currentPage = pageController.page?.toInt();
      if(currentPage != null){
        pageController.animateToPage(
          (currentPage + 1) % 5,
          duration: Duration(seconds: 1),
          curve: Curves.easeInQuart
        );
      }
    });
    super.initState();
  }

  @override
  void dispose() {
    timer?.cancel();
    pageController.dispose();
    super.dispose();
  }

  @override
  Widget build(BuildContext context) {
    // 상태바 글자 색상 바꾸기
    SystemChrome.setSystemUIOverlayStyle(SystemUiOverlayStyle.light);
    return Scaffold(
      body: PageView(
        controller: pageController,
        scrollDirection: Axis.horizontal,
        pageSnapping: false,
        children: [1, 2, 3, 4, 5].map((e) =>
            Center(child: Text("$e번째 항목",style: TextStyle(fontSize: 20.0)))
        ).toList(),
      ),
    );
  }
}
'Flutter' 카테고리의 다른 글
| [Flutter] timer (0) | 2023.01.31 |
|---|---|
| [Flutter] 상태바 글자/아이콘 색상 바꾸기 (0) | 2023.01.31 |
| [Flutter] StatelessWidget / StatefulWidget 생명 주기 (0) | 2023.01.30 |
| [Flutter] WebView / HTTP 접속 권한 허용 (0) | 2023.01.27 |
| [Flutter] Row and Column Widget (0) | 2023.01.21 |


